
Table of Contents Previous topic Next topic
Projects and Workspaces->Creating a New Project->The New Project Wizard
While the Embedded Development Studio insists that you organise your development work into projects, it nevertheless makes it easy for you to set them up. The tool for setting up a new project is the New Project Wizard.
The New Project Wizard is a series of dialog pages each of which requires you to make some simple selections. When you have made selections in all of these pages, your project will be automatically created.
To start the New Project Wizard select File->New. A property sheet will then be displayed: 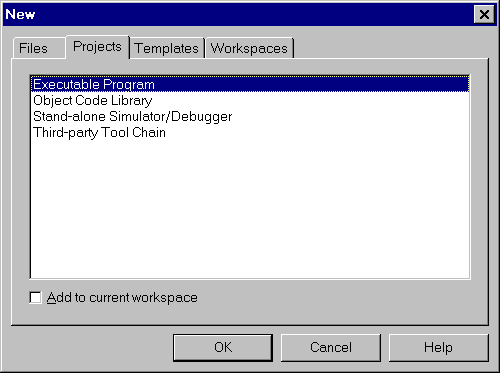
The actual project types listed will depend upon which Crossware tools you have installed.
Select the Project tab and select the type of project you wish to create. If a Workspace is already open, then the Add to current workspace item will be visible. Check this if you want to add your new project to this workspace. Then click on OK.
This will start the New Project Wizard.
The pages that you will see as you step through the New Project Wizard depend upon the type of project that you selected.
For an Executable Program project type you will see: