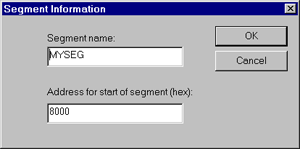
Enter the name of your segment in the Segment Name field. Then enter the required address (in hexadecimal) in the Address for Start of Segment field. Click the OK button. The segment name together with its specified location will be displayed beneath the segment type.
You can now specify that another named segment should immediately follow this one in the address space of your target system. To do this, select the segment that you have just added and press the Add button. A new dialog box will open.

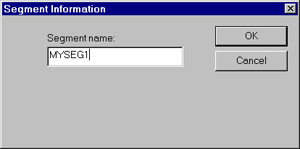
Enter the name of the segment that you wish to follow this first segment in the Segment Name field and click the OK button.
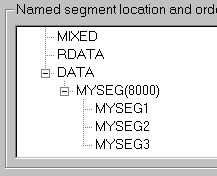
In this way, you can specify the location and ordering of your segments in precise detail. A tree list will show your settings:

Note that very little type checking is done in this advanced linker options dialog box. The Embedded Development Studio does not even check if you have entered the address in valid hexadecimal. Your requirements are translated directly to the format required by the linker and passed to the linker as-is. The linker will generate error messages if your specifications are invalid. If you want to see the command line generated by your advanced options, uncheck the Suppress Startup Banner and Message Display in the Linker Project Settings tab. The command line will be listed alongside the Library files [.LIB]: prompt issued by the linker.
